
How to create a group of contacts
Notifyre users can create an unlimited number of contact groups and easily add or delete contacts from a group via the Notifyre dashboard.
- Login to the Notifyre Dashboard
- Select “Contacts” on the left navigation
- Select
 under Groups
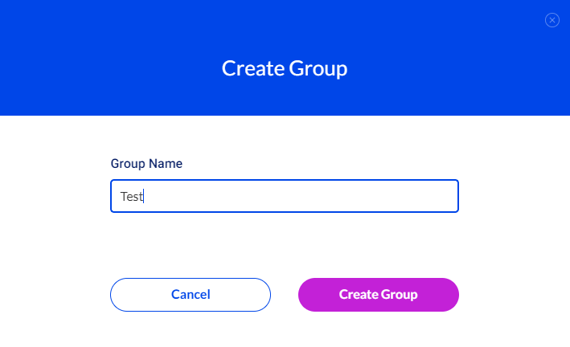
 - Enter the name of the group into the “Group Name” field
- Click “Create Group”. The group will be displayed under Groups
Adding a Contact to a Group
When creating a new contact, you will have the option to add the contact to an existing group(s) or create a new group for the contact to be added to at the time of creating the contact. See: Creating a Contact for more information on how to create a contact.
- Select the contact(s) displayed under “All Contacts”, that you wish to add to a group by clicking the check box beside the contact(s)
- Click
 at the top of the page
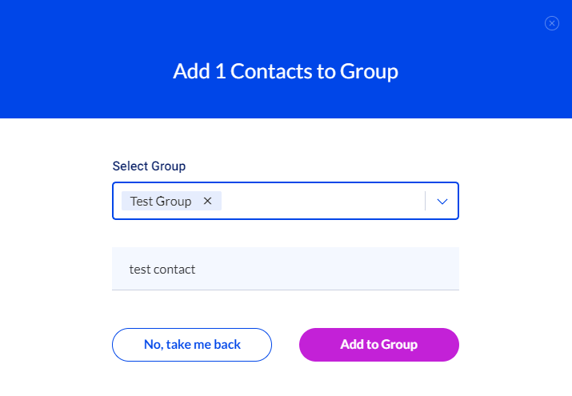
 - Click the dropdown menu, select the group you wish to add the contact(s) to
- Click “Add to Group”. The number of contacts added will now appear under the group name displayed under Groups
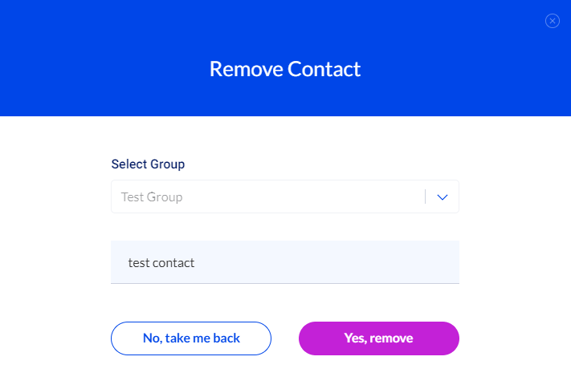
Removing a Contact from a Group
To remove an existing contact from a group:
- Select the group that contains the contact you wish to remove by clicking the check box beside the group
- Select the contact/s you wish to remove from a group by clicking the check box beside the contact(s)
- Click
- From the dropdown menu, select the group you wish to remove the contact from
- Click

Additional Options
Once a group is created, you can perform additional options by clicking the three dots ![]() beside the group.
beside the group.
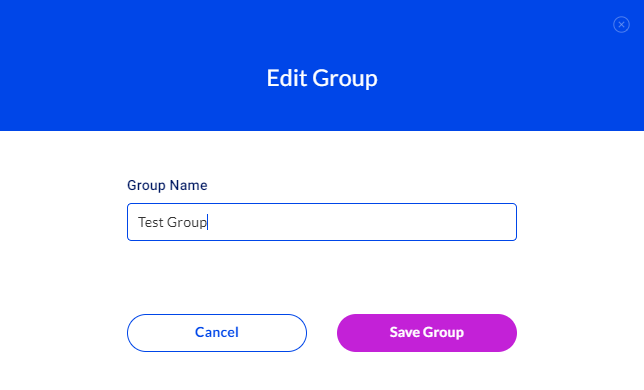
Edit Group
- You can edit the Group Name by selecting “Edit Group” and entering a new name into the Group Name field
- Click

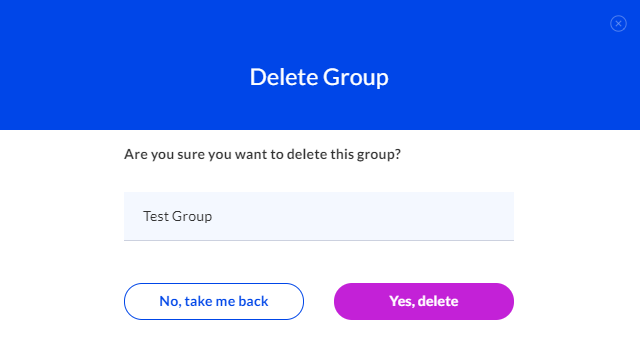
Delete Group
- You can delete a group by selecting “Delete Group”
- Click

Note: deleting a group will not delete the contacts within the group.
Export
- You can export a group of contacts by selecting “Export”
- The group will be exported in CSV format and saved to your device as a downloaded file