Notifyre makes it easy to route incoming faxes to multiple email addresses within your business. This ensures your team stays informed and can access fax documents quickly, without needing to login to the dashboard.
To receive faxes to multiple email addresses follow the below steps.
- Login to the Notifyre Dashboard
- Select Settings on the left navigation
- Select Fax from the dropdown menu
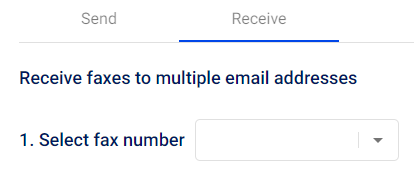
- Select the Receive tab
- Choose the fax number
- Toggle the Email receive settings
- Auto delete fax from account storage: Toggle ON to automatically delete received faxes from your Notifyre account. These faxes will only be sent as email attachments and cannot be recovered.
Disabled by default. - Receive fax as an attachment in your email client: Toggle ON to receive faxes as PDF attachments via email.
Enabled by default.
- Auto delete fax from account storage: Toggle ON to automatically delete received faxes from your Notifyre account. These faxes will only be sent as email attachments and cannot be recovered.
- Enter one or more email addresses in the field provided. Separate multiple emails with commas (e.g. team@yourcompany.com, manager@yourcompany.com).
- Click Save
🛡️A verification email will be sent to each newly added address.
Email verification is required to start receiving faxes. If you don’t receive the verification email, please check your junk mailbox before contacting Notifyre Support.